Let’s be honest: How many of us love ice cream cake as much now as we did when we were kids? Raises hand. As nostalgic as I get eating a store-bought ice cream cake, every time I partake I can’t help but think that a homemade ice cream cake could be really spectacular. But making one from scratch—with the fancy ice creams I dream of using—takes a lot of time, effort, and money.
The happy medium? This crazy easy DIY ice cream cake recipe that uses a store-bought hack that will blow your mind—and also keep you from breaking your back or the bank.

The secret to simplifying homemade ice cream cake is—get ready for it—using ice cream sandwiches. It’s quite genius, really, though I admit that ice cream sandwiches alone do not make a gourmet treat. By adding just a few other delicious ingredients, though, your kids and guests will be completely unaware of this genius ice cream cake hack.

In addition to being much easier than a traditional ice cream cake recipe, this ice cream sandwich cake lends itself beautifully to playing with fun flavor combinations. First off, feel free to choose plain vanilla ice cream sandwiches or another flavor, like Neapolitan. You’re going to add a sauce layer, too, which gives you an opportunity to use hot fudge or caramel.
Next comes a crunchy layer, which can be made up of crushed cookies, nuts, or even sprinkles. And last but not least, you’ll add a layer of ice cream from a pint. Any flavor you love will do, though keep in mind that the key to brining all of these elements together is making sure that they all go well and that they also work with the chocolate flavor of the ice cream sandwich cookie.

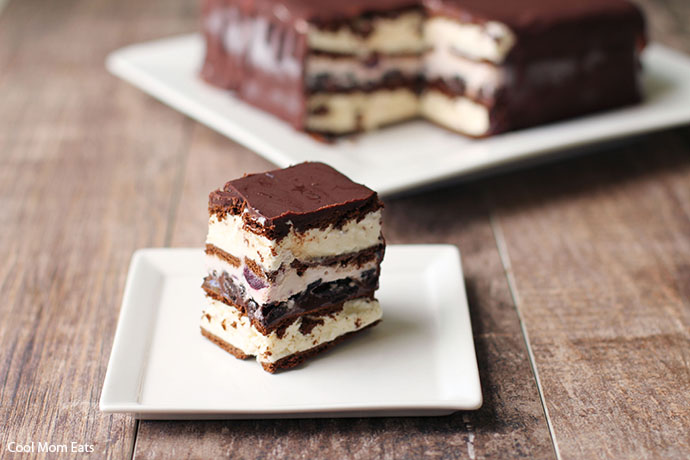
The final touch on this cake is a homemade magic shell coating. It holds the cake together, hides the ice cream sandwiches to make the cake pretty, and tastes like heaven.
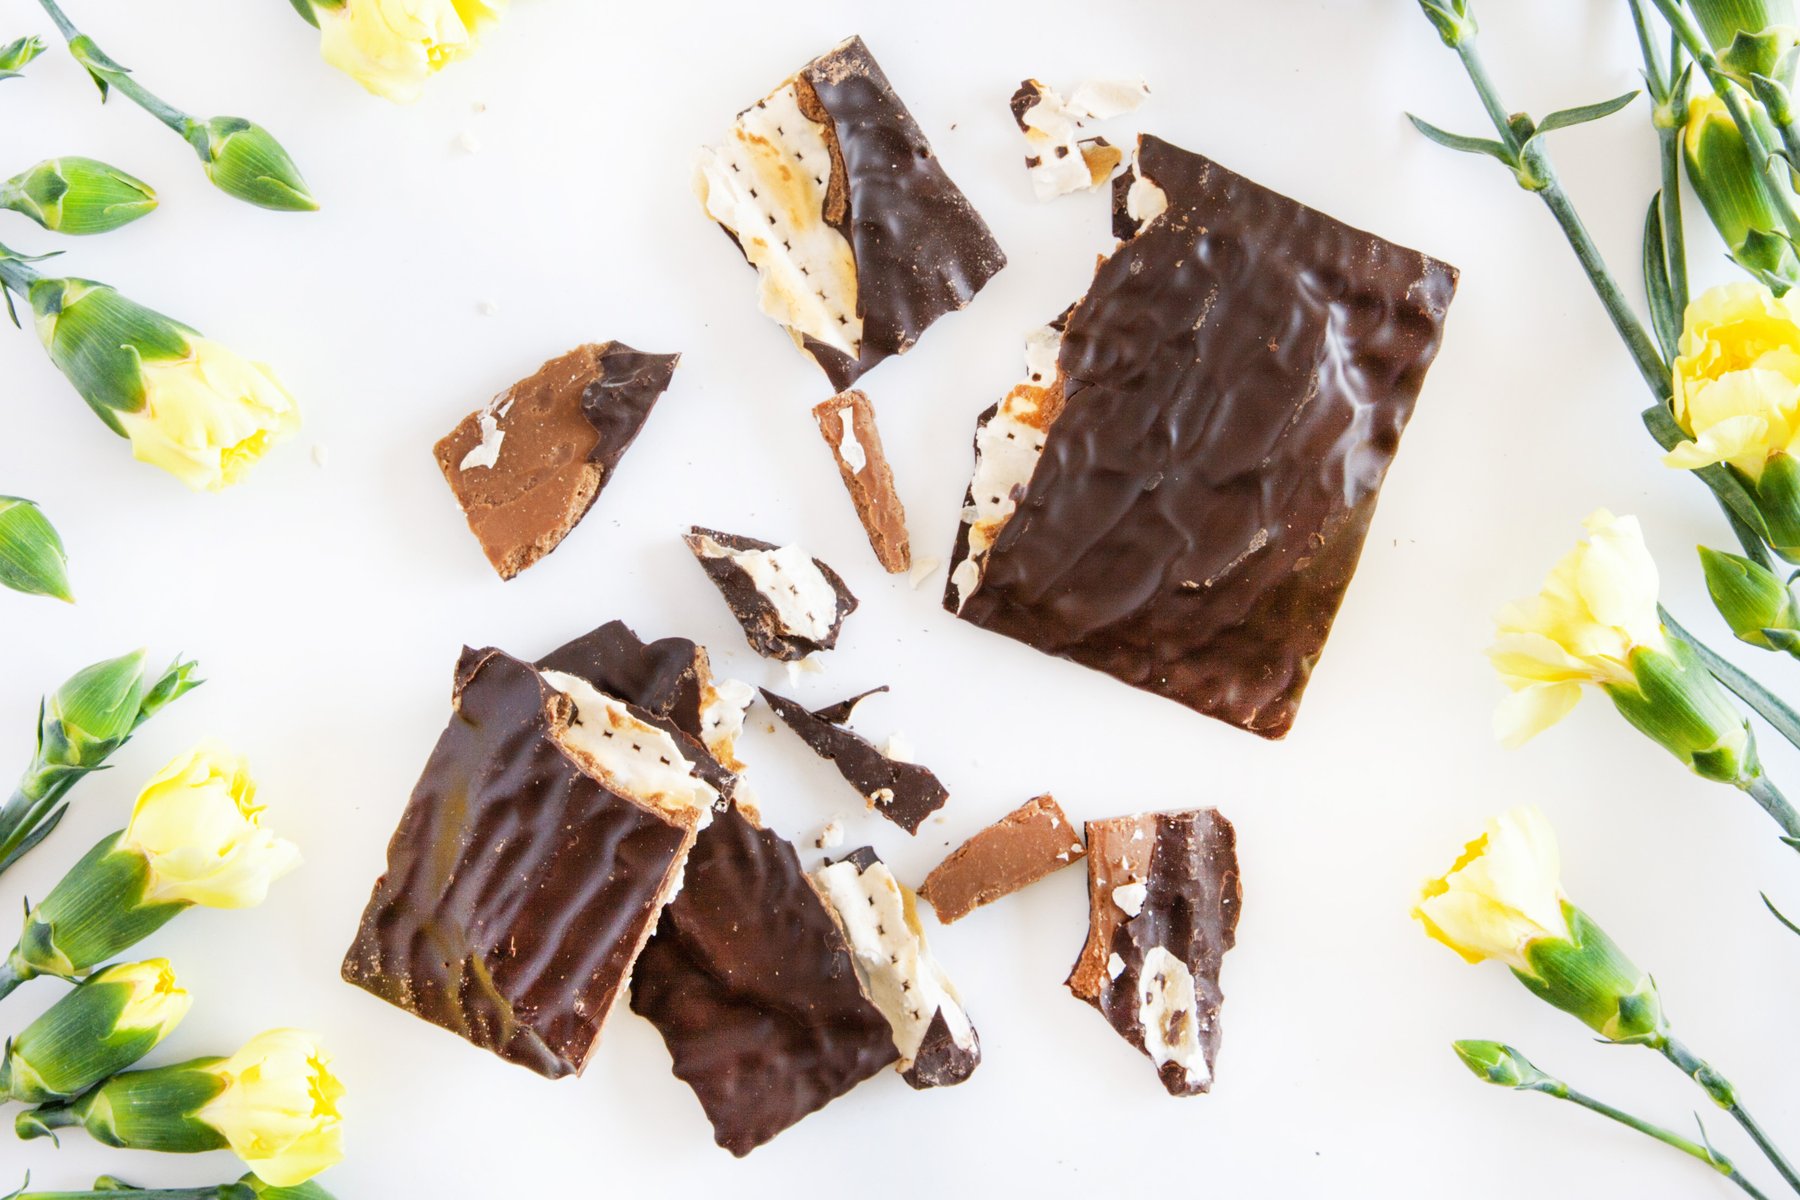
For this tutorial, I paired vanilla ice cream sandwiches with cherry ice cream, chocolate hot fudge sauce, and crushed Oreos. The flavor combo is perfection.
One last quick note before we jump in: Steps 1 – 4 and Step 10 need to be done quickly, so make sure you have everything ready before you dive into those steps.
DIY Ice Cream Cake recipe using store-bought ice cream sandwiches

Step 1: Line an 8″ x 8″ baking dish with parchment paper. Take 5 + 1/3 ice cream sandwiches out of the freezer, unwrap, and place in the bottom of the dish, making sure they are pressed firmly together (there will be space around the sides).

Step 2: Now it’s time to add an additional layer of ice cream. Take the ice cream out of the freezer and scoop about 3 cups on top of the ice cream sandwiches. Spread it in an even layer, pushing to the edges of the ice cream sandwiches.
Pro tip: If you beat the ice cream in a stand mixer for about 10 seconds, it makes the ice cream really easy to spread. Alternatively take it out of the freezer a few minutes before spreading so that it has time to soften.

Step 3: Now it’s time to add a layer of something crunchy, like crushed cookies, sprinkles, coconut, nuts, or something similar. You’ll need 1 to 1 1/2 cups of whatever it is you choose. Spread the crunchies evenly over the top, pressing down into the ice cream.
Step 4: Heat 3/4 cup of hot fudge (or caramel) sauce in the microwave for 10-20 seconds, until it’s spreadable but barely warm, and pour the sauce evenly over the top of the crunchy layer.

Step 5: Now it’s time to add a second layer of ice cream sandwiches! Remove 5 + 1/3 more ice cream sandwiches from the freezer and place on top of the cake, rotating the placement from the first layer. Push them as close together as you can, but don’t stress if they won’t stay put for now.
Step 6: Place the dish in the freezer. After the cake has been in the freezer for a couple of hours, with your hands on the outside of the parchment paper, firmly push the cake in on all sides to force it back into shape. Return it to the freezer to set overnight.


Step 7: At any point when the cake is in the freezer, make the chocolate coating, which will store at room temperature until you need it. Our editor, Stacie, recently shared her recipe for chocolate shell; if you follow Stacie’s recipe, which only uses 2 ingredients, double it! Alternatively you can add 1/2 pound of finely chopped, good quality semisweet chocolate to a microwave-safe bowl along with 1 cup coconut oil and 6 tablespoons light corn syrup. Microwave at 50% power in 30 second increments, whisking well between each interval, until smooth.

Step 8: Once the cake is frozen solid, remove it from the freezer. Lift it out of the dish using the parchment paper overhang, and flip it over onto a cutting board. Remove parchment paper.

Step 9: Using a large knife, cut the sides of the cake to square off the edges. (Optional: Eat edges when the kids aren’t looking.)

Step 10: Now it’s time to coat the cake in its chocolate coating. Keep in mind that once the chocolate touches the cold cake, it will harden in about 30 seconds, so time is of the essence here. Pour the sauce on quickly and start spreading, using a spoon to make sure that it coats the top and sides completely.
Pro tip: Place the cake on a rack that is set on top of a lined cookie sheet to capture the chocolate sauce that will inevitably drip.

Once the coating covers the cake and hardens—which it will do on its own—you’re done! Store cake in the freezer until you’re ready to serve.

And, yes, it took 10 steps and my instructions are very detailed, but I promise that this cake is simple to make. You just need to be sure to work quickly when assembling the cake and adding the chocolate shell. Other than that, this hack makes an impressive DIY ice cream cake that your eaters will never guess is made with pre-made ice cream sandwiches.
Easy DIY Ice Cream Cake
Serves 12
10 + 2/3 standard-sized ice cream sandwiches
3 cups ice cream
1 to 1 1/2 cups something crunchy (coconut, sprinkles, crushed cookies, nuts, etc.)
3/4 cup hot fudge or caramel sauce
1/2 pound high quality semi-sweet chocolate
1 cup refined coconut oil (if you use virgin/unrefined, you will get a more coconutty flavor)
6 tablespoons light corn syrup
1. Line an 8″ x 8″ dish with parchment paper. Place 5 + 1/3 ice cream sandwiches in the bottom of the dish, making sure that they are pressed together, though there will be space around the outside edges.
2. Add the 3 cups of ice cream on top of the sandwiches, spreading it into an even layer and pushing to the edges of the ice cream sandwiches. Tip: If you beat the ice cream in a stand mixer for about 10 seconds, it makes the ice cream really easy to spread.
3. Add your crunchy topping of choice in an even layer, pressing down into the ice cream.
4. Heat the hot fudge (or caramel) sauce in the microwave for 10-20 seconds, until it’s spreadable but barely warm, and spread sauce over the crunchy layer.
5. Layer remaining 5 + 1/3 ice cream sandwiches on top, rotating the placement from the first layer. Push them as close together as you can, but don’t stress if they won’t stay put for now.
6. Place the dish in the freezer. After a couple of hours, remove it and, using your hands, press on the parchment paper from all sides to push the cake back into shape. Return to the freezer overnight.
7. At some point while the cake is freezing, make the chocolate shell coating: Add chopped chocolate, coconut oil, and light corn syrup to a microwave-safe bowl and microwave at 50% power in 30 second increments, whisking well between each interval, until smooth. This sauce can be stored in a container with a lid at room temperature until the cake is ready.
8. Once the cake is frozen solid, remove it from freezer, lift it out of the dish using the parchment paper overhang and invert onto a cutting board. Remove paper and, using a large knife, cut sides of cake to square off the edges.
9. Place trimmed cake onto a rack that’s been placed on top of a lined baking sheet. Pour chocolate sauce over the cake to coat top and sides completely, keeping in mind that it will harden within 30 seconds of hitting the cold cake. Use a spoon to spread the coating evenly over the top and sides. Store in freezer until time to serve.