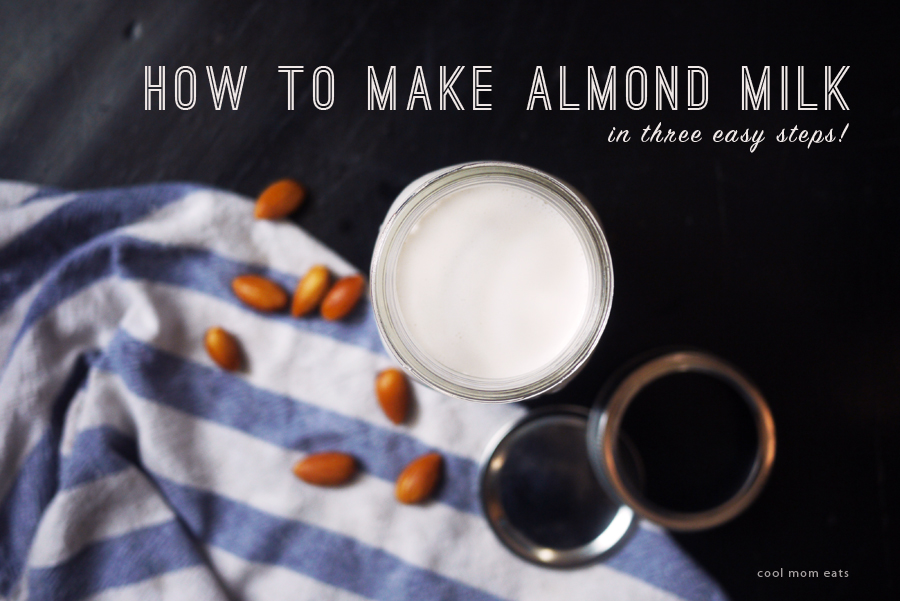
Making homemade almond milk (or mylk, as it’s often referred to), may seem like an unnecessary bother to some — and I get it. This process may not be for everyone, but if you drink almond milk often and care about how things taste, I strongly encourage you to try this recipe. Because it’s bonkers how much better it is than store-bought, especially given how easy it is to make.
Plus, many store-bought options contain carrageenan, a common additive in nut, soy, and grain milks that helps thicken them, and well, not everyone thinks that the stuff is good for you consumed in great quantity. But really, all that aside, this honestly just tastes better. So, so much better. Here’s the deal.
CME is an rStyle and Amazon affiliate.
Related: Dairy products that people with cow milk sensitivities may be able to enjoy without trouble!
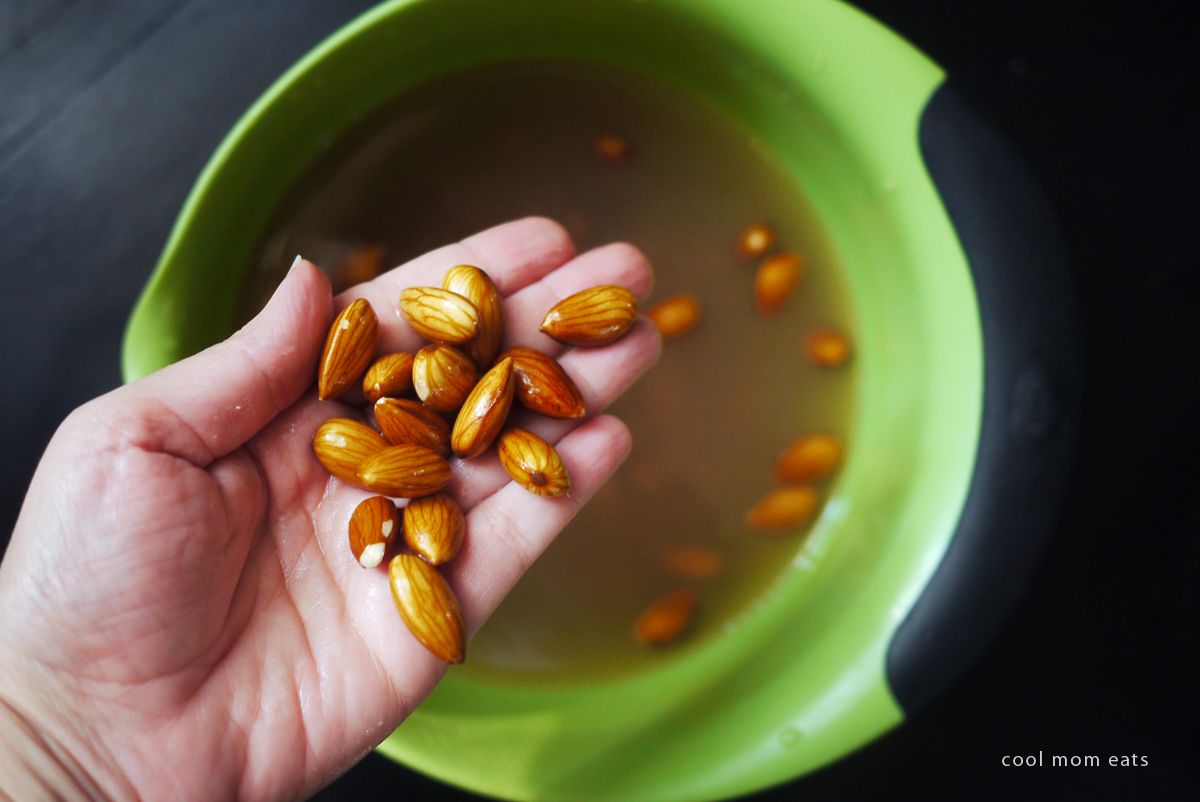
1. Soak the almonds.
Start by soaking raw almonds in water. Make sure that they are covered by at least an inch of water; tap is fine. An eight hour to overnight soak is ideal for a thick, full-bodied milk, but the recipe will work even if you can only soak them for a couple of hours. If you have to leave them for more than overnight, that’s okay too; the almonds can soak for up to two days. Once they are done soaking, drain and discard the water.
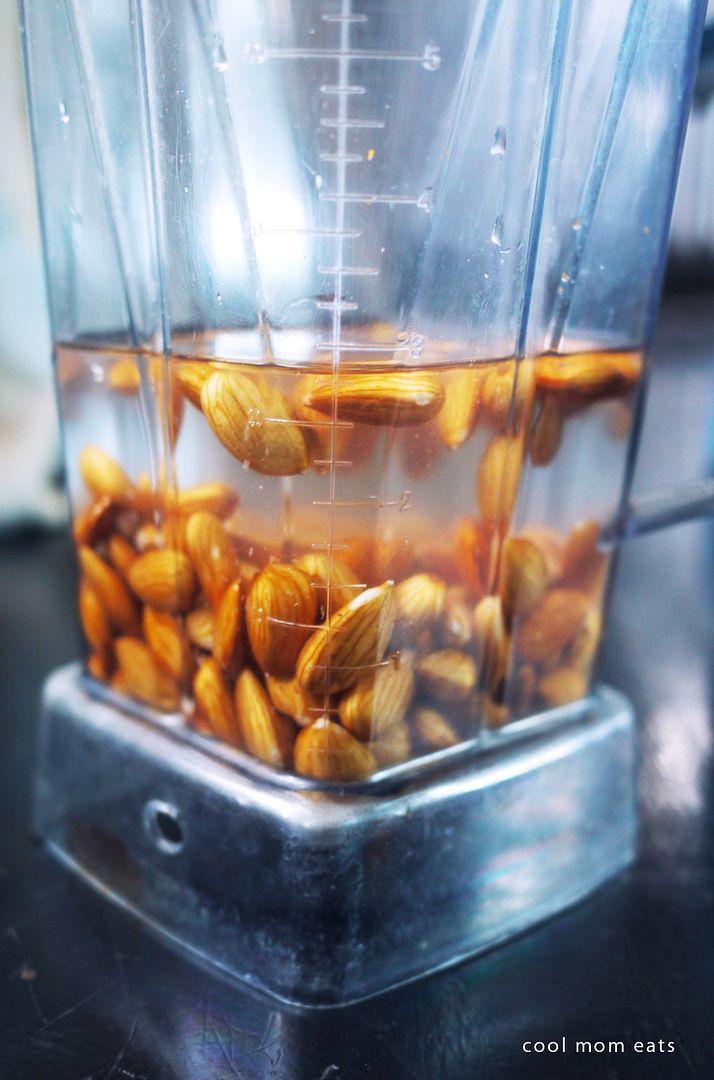
2. Blend the soaked almonds with fresh water.
Add the plumped almonds to a blender along with fresh water. For every cup of almonds that you have soaked, you’ll need two cups of water. Filtered water is best for this step, but whatever you normally drink is fine. Then blend, blend, and blend some more. I blend for a full minute in a very high-powered blender. If your blender isn’t super powered or you’re using a food processor, go for two to four minutes, scraping down the sides as necessary. You want the almonds to turn into a very fine pulp.
Related: 7 kid-friendly vegan dinner recipes for Earth Day — and beyond.
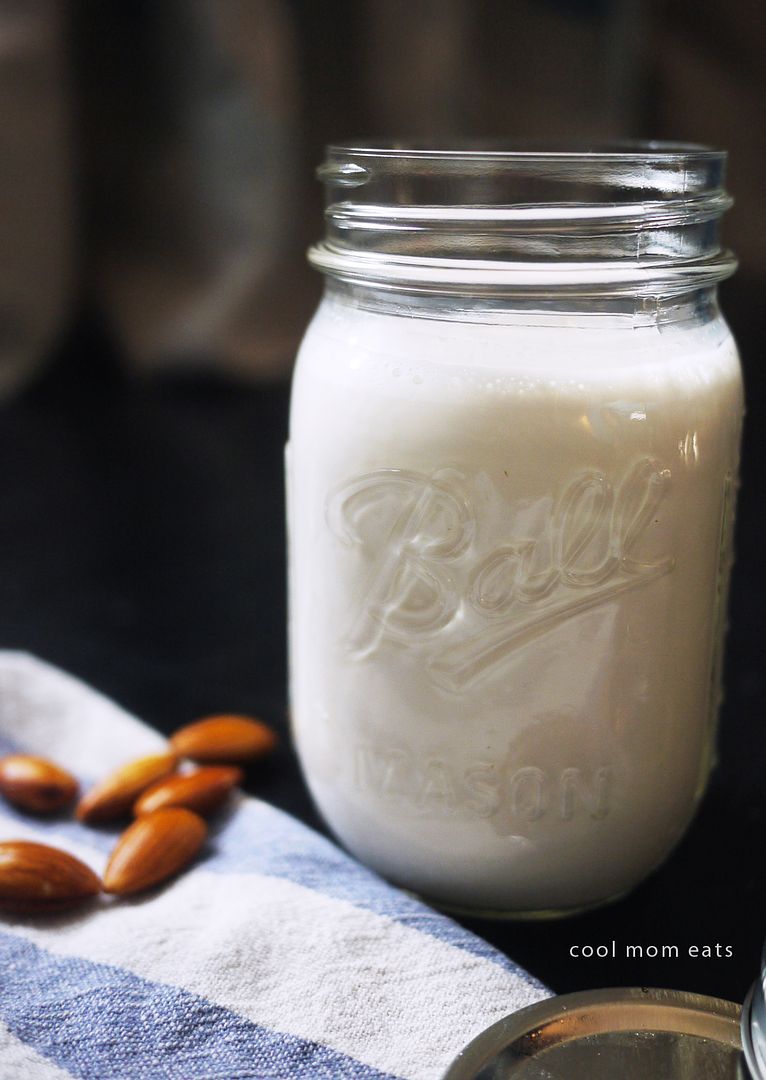
3. Strain the almond milk.
Using a strainer lined with a fine mesh cheesecloth or a nut milk bag (yes, there is such a thing — more on that in a minute) placed over a large bowl, strain the nut milk. No matter what you use, be sure to press hard on the almond meal to extract all of the milk. One cup of almonds blended with two cups of water, per the directions above, should yield about two cups of almond milk
Once you have collected all of your almond milk, pour it into a jar and refrigerate. It will stay good for two to four days. Use it as is (in cereal, smoothies, for baking, et cetera) or stir in your favorite sweetener. We use honey when the boys want to drink a glass straight.
You’ll also be left with a hunk of velvety almond meal. I’ve read about all kind of applications, but the only one I’ve tested myself is adding it to oatmeal. Delicious.
About that nut milk bag…
It may seem ridiculous to suggest that you buy a $10 nut milk bag, but if you think you’ll do this more than once and it fits your budget, I have found that it’s worth it. The mesh of a nut milk bag is super fine and does a perfect job separating the almond milk from the meal, plus it’s reusable. A cheesecloth works, but it’s trickier for sure: Make sure to use a fine mesh gauge and fold it over a few times. You may need to strain your milk more than once if you want a perfectly smooth milk (which I prefer).

