I never thought I’d be the person offering tips for making homemade gingerbread houses, but you know, 2020.
Chalk it up to the baking bug so many of us caught in 2020, but my kids and I attempted our own homemade gingerbread houses for the first time this year. From scratch. Without a gingerbread house kit. And for the most part, they were a success, so I will take those bragging rights, thank you.
We had fun, we were all doing something together, and we consumed lots of sugar. Isn’t that like the holiday activity trifecta?
Bonus: the gingerbread houses even looked pretty decent when we were done. Not pro, but impressive and very very satisfying.
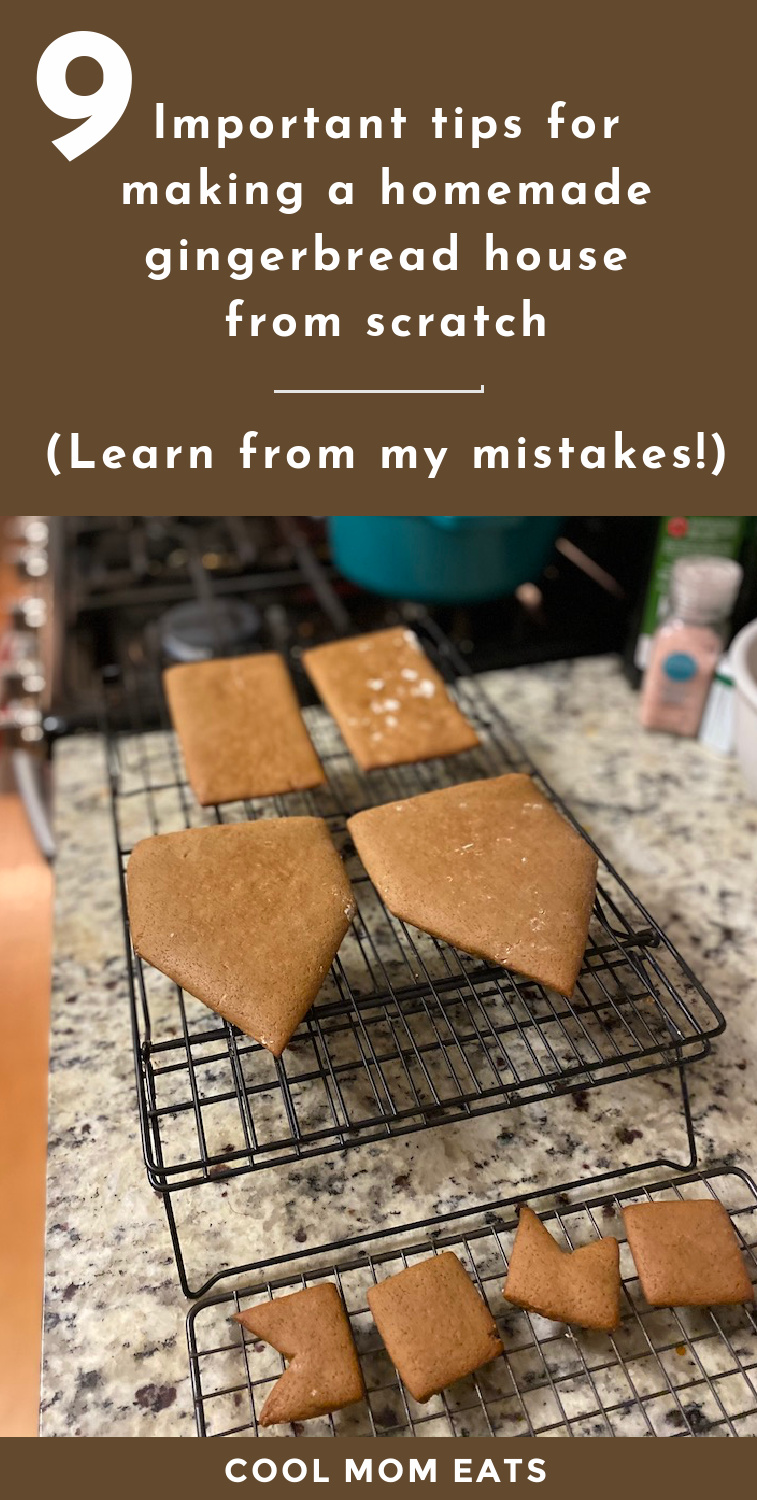
So, I thought I’d share some of the tips for making gingerbread houses that I learned along the way. Consider it a “what to do “— and definitely “what not to do”— for building your first homemade gingerbread house.
This post contains affiliate links, and purchases may generate a small commission that helps support our team at no additional cost to you. Thank you!
Related: One sugar cookie dough recipe, ten easy Christmas cookies
My tips for making a homemade gingerbread house.
If this amateur baker can do it, so can you!
1. Start with a tried-and-true gingerbread recipe
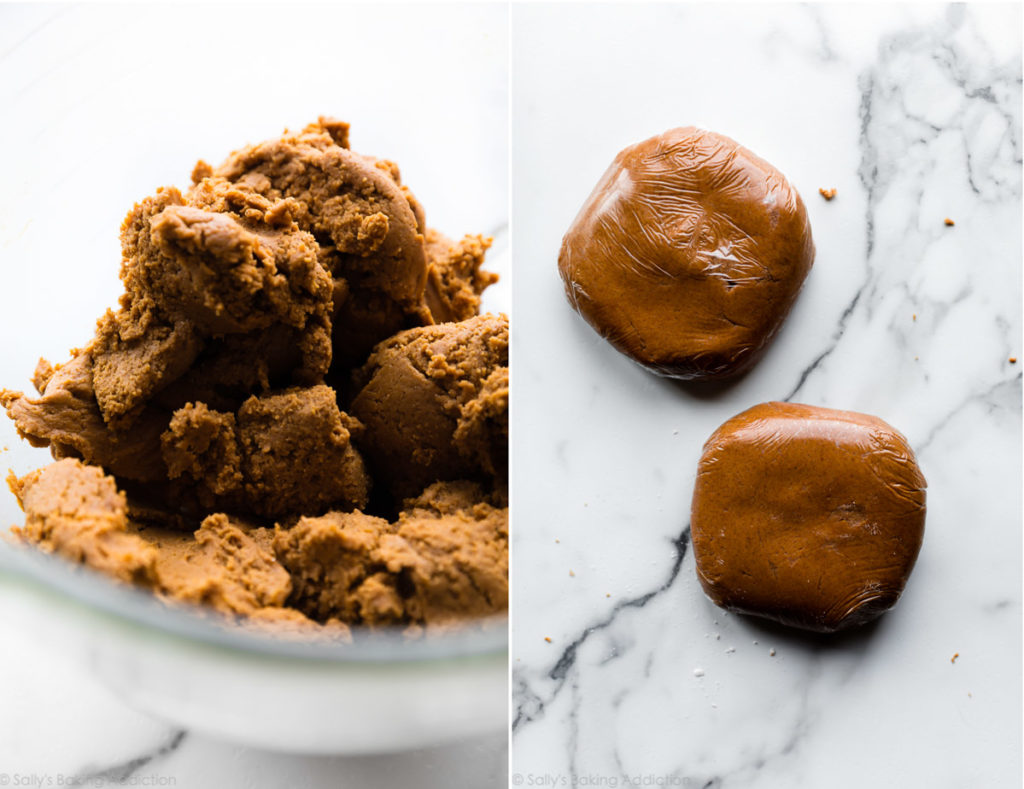
To start, don’t just google. Start with a trusted baker to guide you through this process so it’s not a bunch of wasted time and money. For me, that meant Sally’s Baking Addiction, because she offers her recipe, pattern pieces, and step-by-step video instructions for making homemade gingerbread for a house.
Her recipe yielded a good, thick dough that baked up into sturdy pieces, and I can proudly say that not a single piece broke while we were creating our houses.
Oh, and of course as with any recipe, read all the instructions first so you know what else you’ll need, and how much time you should allot for this. See also: Tip #9.
2. Use lots of flour so the pieces keep their shape.
While you’re rolling out your dough, be sure to use plenty of flour between your dough and parchment paper.
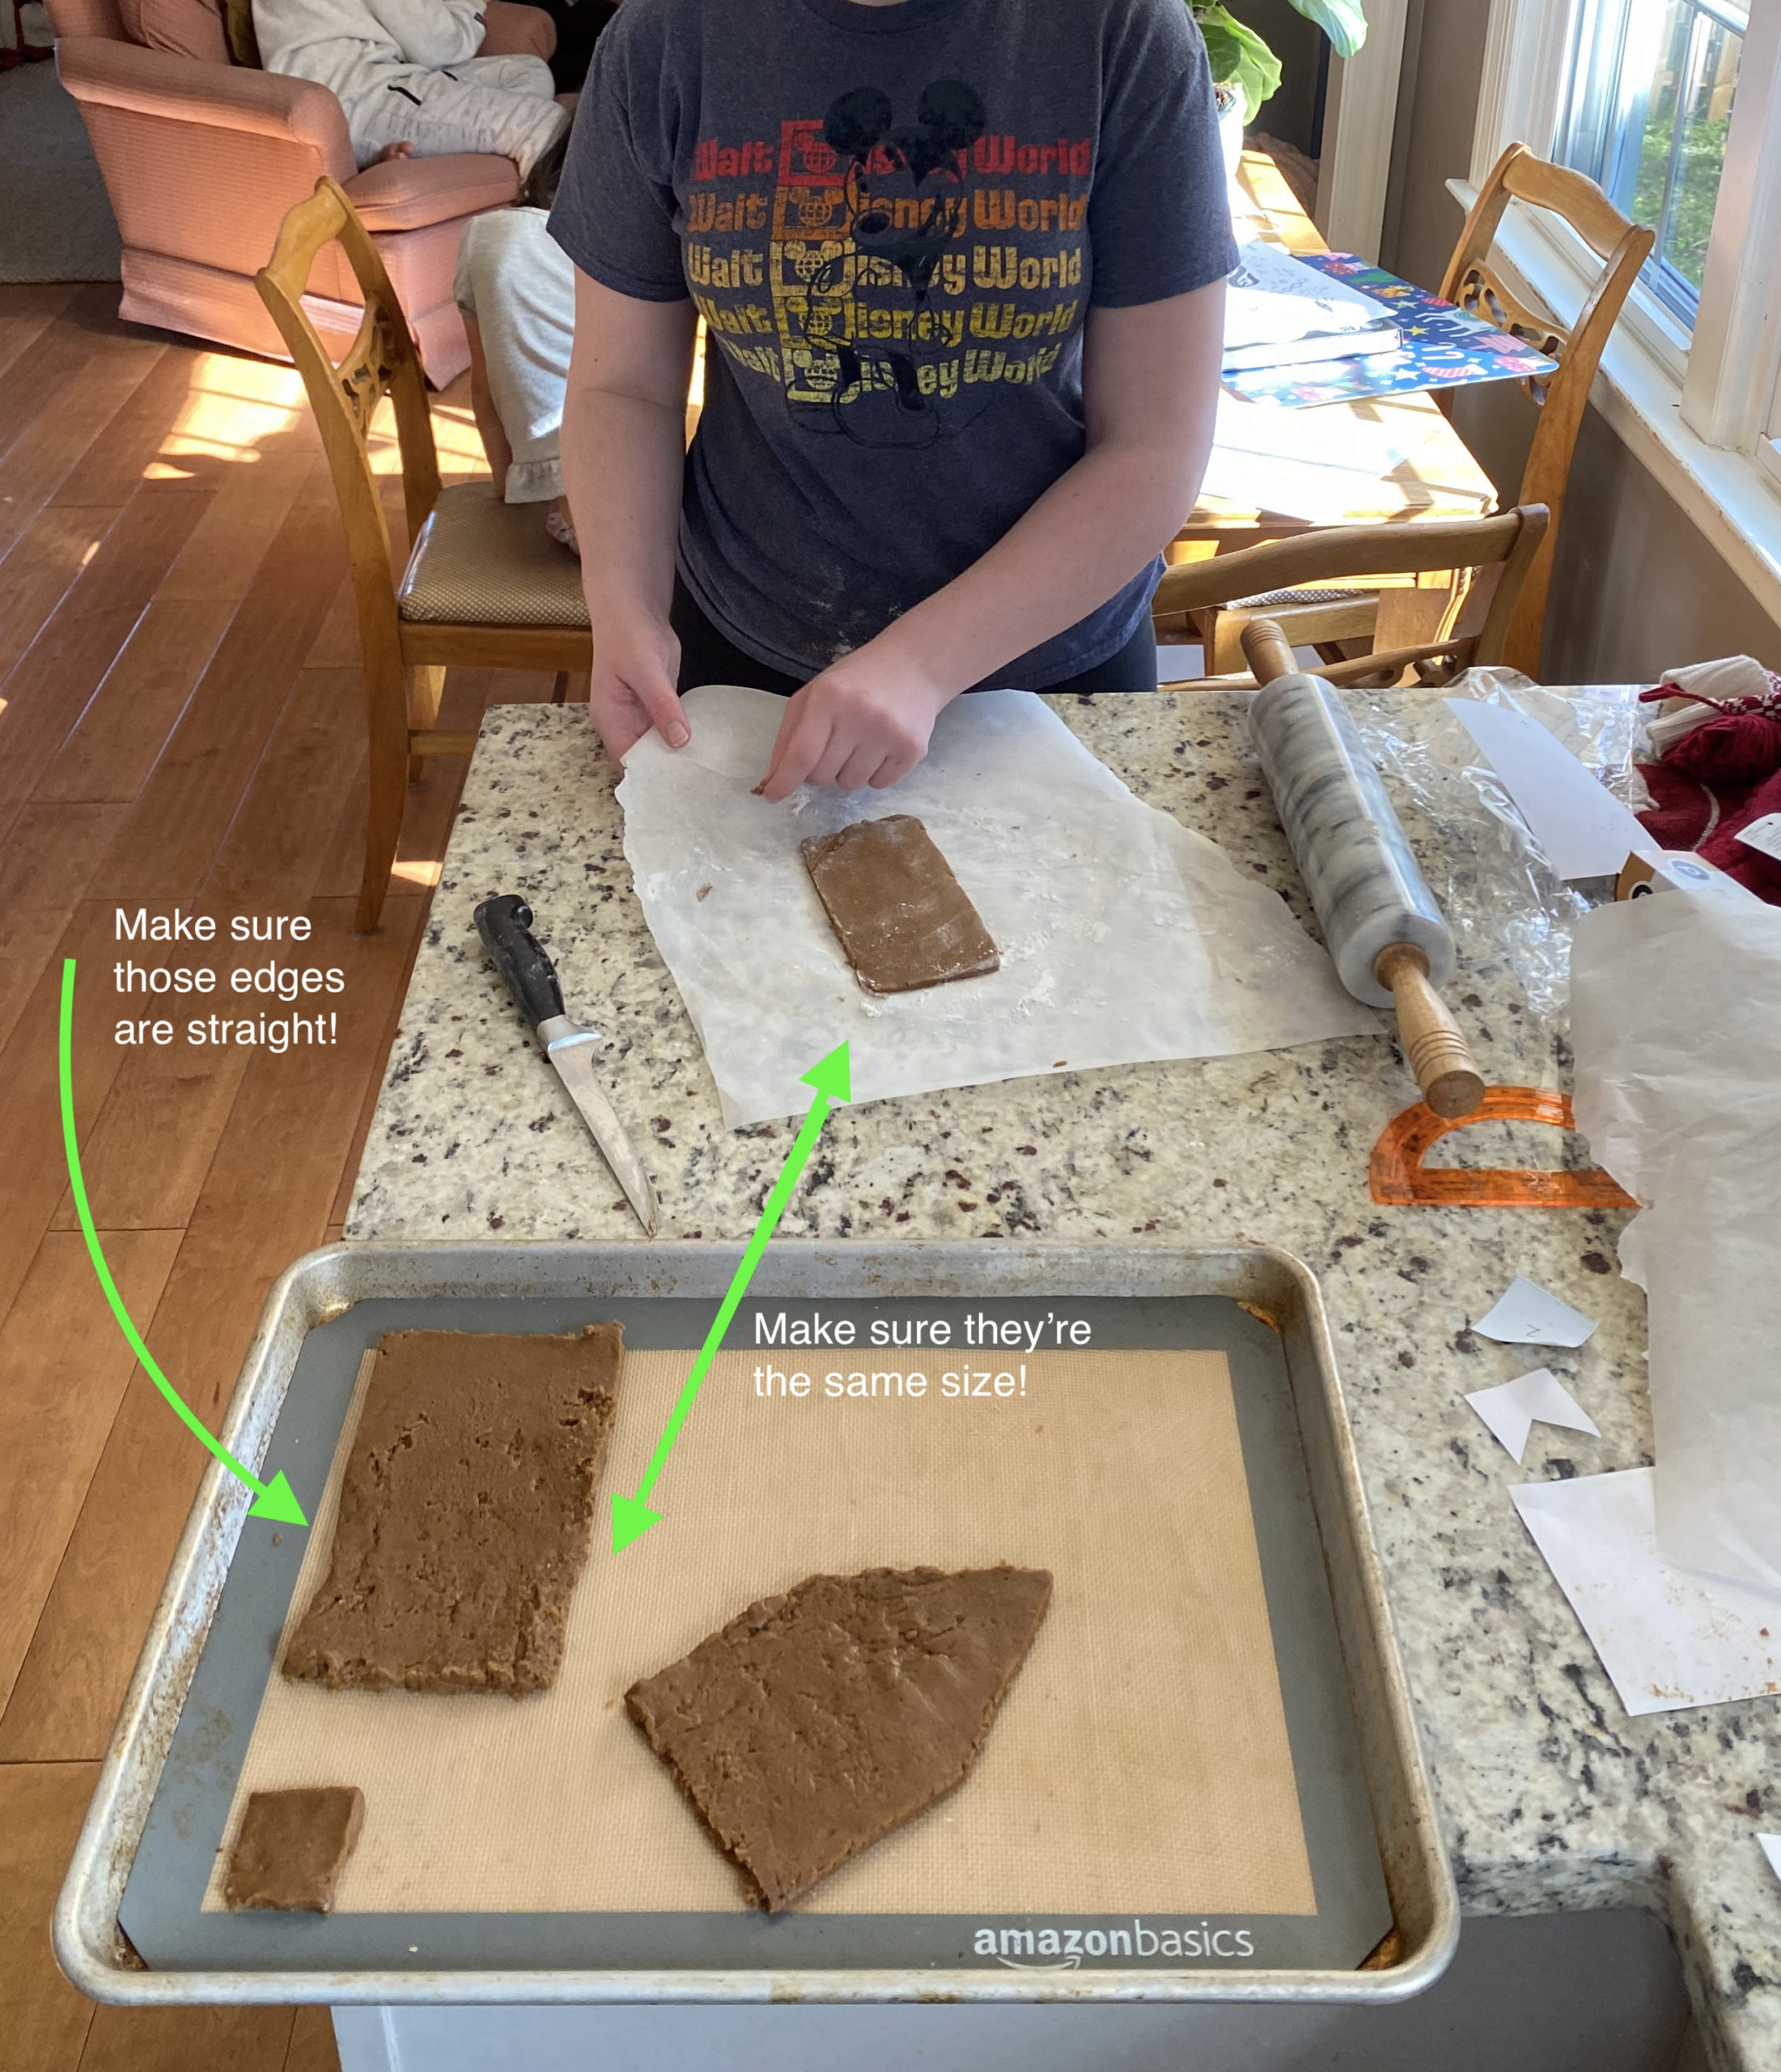
On our first batch, we struggled with pieces that stretched out of shape. But on our second attempt, I found that adding a generous handful of flour helped tremendously, as we transferred our cut out pieces from the parchment paper to the cookie sheet.
Less tugging and stretching means that the pieces will hold their shapes better. And this means your house actually fits together when it’s time to build it.
3. Measure twice, cut once.
This is a key tip for making a homemade gingerbread house that turns out right: Once the pieces are on the cookie sheet and ready to bake, double check to make sure they match the pattern pieces.
If they are even a little bit off, you must trim them up so they match exactly.It makes the building stage so much easier.
We had several mis-matched side pieces or roof pieces that required cutting after baking and trust me, that is a whole lot harder to do. Plus you risk breaking the piece entirely.
However if you do find yourself in that position, you can sharpen your best serrated knife and trim the baked pieces carefully.
4. See how the pieces fit together before you start with the royal icing.
We just jumped right in with the royal icing on our first house and…let’s just say it was a struggle. Ugh. We took apart the house, now covered with royal icing, and it looked pretty messy.
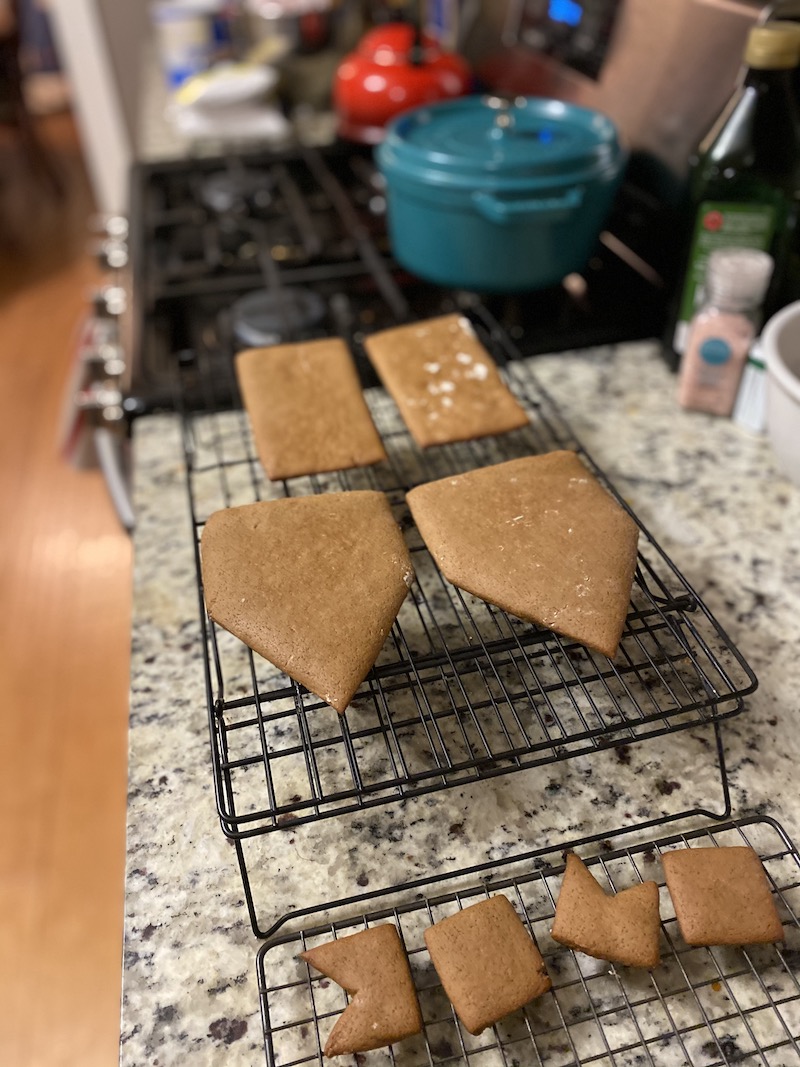
By our second attempt, we did a dry run without icing, and learned that the pieces fit together far better when we assembled it a little differently. In other words, don’t “glue” anything until you know exactly which piece goes on top of which piece!
5. Let the royal icing set — and use a squeeze bottle. It’s a lifesaver
To pipe out royal icing, we first used that age-old hack: sandwich baggies with the corner cut off. Oof, the mess! I didn’t realize how tightly I had been squeezing the bag until it burst open and royal icing splatted everywhere in my kitchen.
If I had taken the time to search my kitchen for the royal icing squeeze bottles I use for cookie decorating, we could have avoided that headache. Plus, getting the pieces to stay together and stand up while the icing is still wet is a bit (ahem) stressful it is, and achieving that perfectly thin, even strip of “glue” with bottles is a massive help.
Speaking of which, you really have to let that royal icing set.
Once it’s been piped on, experts suggest you wait as long as 30 minutes or so before pressing the pieces together. Wait until the outside of that icing piping is a bit crusty, and know the inside is still be wet and pliable. Baking a Moment offers tips for working with royal icing if it’s new to you.
6. Set up separate decorating zones for the kids. (There’s no crying in gingerbread house making!)
If your family is like mine, things can get testy when everyone is reaching over each other, trying to share tools and decorations at the same time. To avoid this, I created dedicated decorating zones around the kitchen, but if you’re working on a patio or a dining room table, just make sure everyone has their own, clearly delineated space away from the other kids.
I gave each kid their own piping bags of icing, and a paper cup filled with candy that I had counted out exactly, so no one could claim that someone had an extra gumdrop.
We played Christmas music and it allowed us to be together without being too close, and we all know how to do that by now, right?
7. Double or triple the recipe so you can get in on the fun, too.
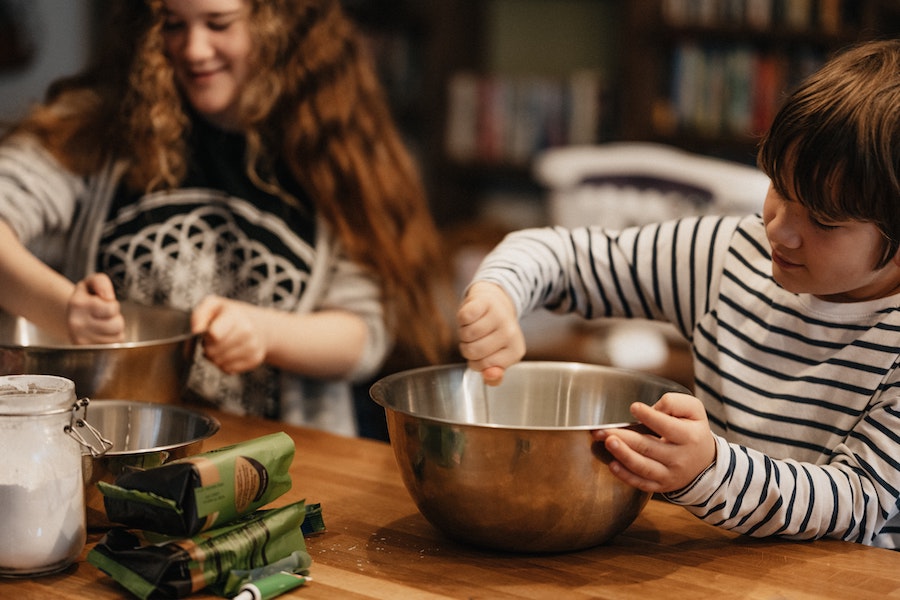
Photo by Annie Spratt on Unsplash; they’re not my kids but they look like they are having fun too!
At first, I thought I’d just make homemade gingerbread houses for my kids, but then I reconsidered — it would be far more fun to do this together with my kids. So I went ahead and tripled the recipe, and had my own house to work on.
This freed me up from making “suggestions” about how they do their houses (you know what I’m talking about, type A parents!) , and it turned out to be so much more enjoyable and memorable that we were all in it together.
8. Definitely don’t make it a contest.
If I’m honest, we did find certain parts of this process to be somewhat frustrating, and at times my kids asked why we didn’t just get a store-bought kit instead. That’s why I put together these homemade gingerbread tips for you, so you might succeed where we struggled.
If you do hit a snag, use these tips too: Keep focus on having fun together, trying something new, and feeling the Christmas spirit. Don’t make it about some sort of “world’s best gingerbread house” contest; too much pressure. Even if you have a competitive family.
So help the kids problem solve. Try not to freak out or mutter under your breath about your own struggles. And of course, throw out lots of compliments throughout the process. “I love how those gumdrop colors look together” or “great job on those edges!” goes a long way.
9. The ultimate homemade gingerbread house tip:
Prepare your kids for a marathon, not a sprint

If I had to do it over again, my biggest change is that I’d set my kids’ expectations better.
I’d explain that this project is be a multi-day affair, not some quick hour-long kitchen craft. (Though we have ideas for easy holiday food crafts for kids too, if that’s what you’re looking for.)
For best results:
– Your dough needs to chill overnight.
– Once you bake the pieces, they need to fully cool
– The royal icing needs to set before assembling
– The royal icing needs to set again before decorating
– Decorating takes time
Add that up, and that’s a lot of time!
It helps to give the kids an overview of what will be accomplished in each mixing/baking/decorating session — and then plan some other fun activities for you all to do together between steps.
Watch one of Netflix’s 10 million Christmas baking competitions. Make snowflakes. Write holiday cards. Sketch out pictures of how you might decorate your gingerbread house. Browse your local specialty store or craft store for the candies and treats you’ll use to decorate.
Or — pro tip alert! — go ahead and bake up any leftover dough into fun gingerbread men, which will be ready a lot sooner. Wouldn’t want to waste all that hard work, right?

