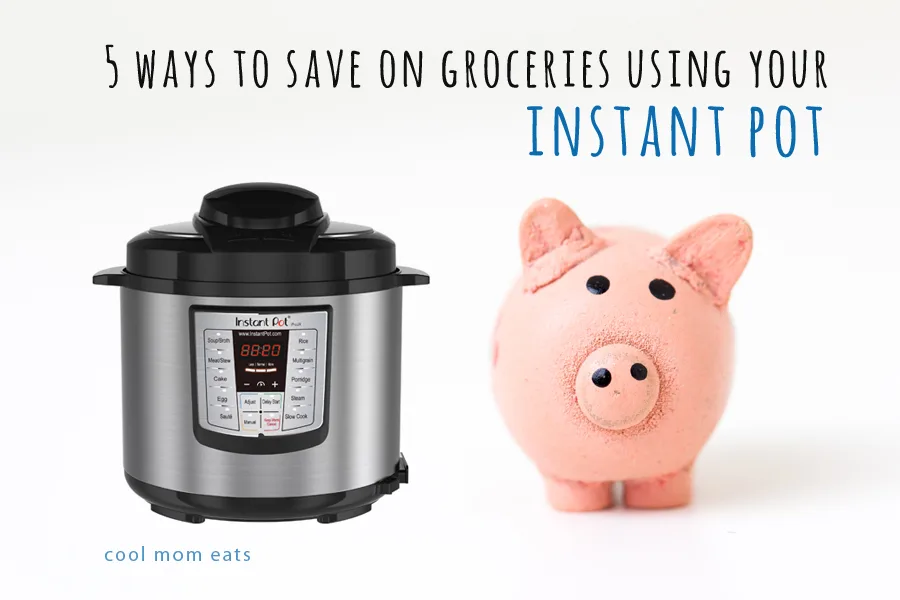
Everyone knows that the Instant Pot is a time saver. But, since getting in the habit of using mine beyond making quick dinners, I’ve come to learn that the popular kitchen gadget is also a money saver. Like, big time. These are my favorite ways to save money on groceries using the Instant Pot and the perfect place for you to start slashing your weekly grocery bill.
It really is a magical device. If you don’t already have one in your kitchen, it really is worth it. This 6 Qt Instant Pot Duo (affiliate) has been a workhorse in my kitchen for years and is well worth the investment.
Related: The 10 best family-friendly Instant Pot recipes we’ve tried so far.
https://www.facebook.com/CoolMomPicks/videos/10154367054716993/
– This post has been updated for 2022 –

1. Switch from canned to dried beans.
Why it’s worth it:
You may not abandon canned beans all together — because sometimes convenience trumps all — but you won’t need to solely rely on them if you get in the habit of cooking dried beans in your Instant Pot. And when I say get in the habit, I mean find five minutes once a week to throw water and dried beans into the pot, because that’s all it takes. You don’t even have to soak.
Dried beans not only taste better and have a better texture than canned, but they’re also less expensive. One pound of dried chickpeas will yield the same amount as four 15-ounce cans. At my supermarket, canned chickpeas run from about $0.99 to 1.99 per can, and one pound of dried costs a total of $2.79 — and that’s a brand name, as opposed to bulk. Depending on your preferred brands and whether or not you pay extra for organic, the savings goes from small to significant — but you’re saving either way.
And that’s just chickpeas. Black beans turn out great in the Instant Pot, too, and together, they play a major role in two dinners every week. Plus, when I make beans in the Instant Pot, I always have leftover for school lunch and my packed lunch, which saves even more money.
How to do it:
Sold, right? And all you have to do is rinse and pick through the beans, add them to the insert, and cover with water or broth by about three inches. Cook on high for anywhere from 20-40 minutes, depending on the type of bean and whether you’ve soaked them ahead (though, if you ask me, soaking is so not worth the effort). You can refer to this handy pressure cooking timetable for dried beans, which should also be in your IP manual.
If you like soupy black beans, want to use the cooking liquid, or just want to make your beans tastier, you can build flavor by adding a halved, peeled onion, peeled and smashed garlic cloves, a bay leaf, dried chiles, or even a halved orange (which I add to my black beans) into the IP along with the beans and water or broth.
Related: 5 lighter Instant Pot Recipes we love
2. Save big on broth and tomato sauce.
Pressure Cooker Tomato Sauce | Photo and recipe by J. Kenji Lopez-Alt for Serious Eats
Why it’s worth it:
I don’t know about you, but I go through broth and simple tomato sauce like crazy. I’m also super picky about both items — they need to taste good — and so I end up spending quite a bit between organic chicken broth, veggie broth, and high quality marinara, which I keep on hand for more than just pasta (think quick pizza sauce, braises, and shortcut curries).
Not only does making these cooking staples in my Instant Pot save me from spending upwards of $7 on a single jar tomato sauce and $4.50 for a box of broth, but what I end up with is far superior tasting. And if you’re spending less on your tomato sauce and broth to begin with, the flavor improvement you’ll get from homemade will blow your mind — because what you’re using is not even close in quality to what you can make with just a few minutes of prep.
Not to mention that, when it comes to making broth in your Instant Pot, you’ll add to your savings by reducing food waste.
How to do it:
Let’s start with making broth, because you’ll end up doing that constantly. Anytime I have a leftover chicken carcass, whether from one I cooked myself or a store-bought rotisserie chicken, I throw it in the Instant Pot along with two or three celery stalks and carrots, a palm-ful of black peppercorns (10-15 of them), a halved onion, and a bay leaf. If I have any of the following, I add them too: parsley stems, leeks, sprigs of fresh thyme, or garlic cloves. Cover everything with 8-10 cups of water, turn on high pressure for 60 minutes, and allow for natural release when the cooking is done. Strain the finished product and voila — bone broth.
If you’d rather make broth using a whole chicken as opposed to bones, do the same exact thing starting with a raw, whole roasting chicken and cook for just 35 minutes.
You can follow a similar process to make vegetable stock too. Start by collecting veggies or veggie scraps. I like to collect scraps over time by putting anything that’s about to go bad or that I don’t use when prepping veggies for dinner — outer onion layers, corn cobs, mushroom stems (that have been wiped clean), carrot and celery trim, broccoli stalks, outer leaves of cabbage, snapped green bean ends, parsley stems — into a ziplock that I keep in my freezer.
Add the vegetables to your IP insert along with a halved onion, a few cloves of garlic, a few sliced dried mushrooms, and some fresh parsley (if there aren’t stems already in your veggie pile) with about eight cups of water. Cook on high pressure for 15 minutes and strain, pressing the veggies against the strainer to extract all of the liquid.
As for tomato sauce, I love this Pressure Cooker Tomato Sauce by J. Kenji Lopez-Alt at Serious Eats (pictured). Don’t let the fish sauce scare you: it’s optional and the sauce is great with or without. When I know that I’m going to use the sauce for something other than Italian cooking, I’ll skip the oregano and basil. But even with, this makes a great all-purpose sauce.
Related: 12 Tips for saving money at the grocery store
3. Skip expensive cuts of meat.
Honey Teriyaki Drumsticks | SkinnyTaste
Why it’s worth it:
Meat can be very expensive, especially if you are committed to buying high-quality meat from a source you know and trust. Since that’s what I do, my meat bill started to get exorbitant, which is why I reduced the amount that we ate in a week and started experimenting with less expensive cuts.
Cheaper cuts of meat tend to be fattier and have more connective tissue than the more expensive tender cuts, which is why they are tough when cooked quickly. They do well in long cooked stews, soups, and braises because all of that fat and tissue break down over time. So what’s a busy home cook to do when speed and price are at odds? Whip out the Instant Pot.
How to do it:
Pressure cooking achieves the same results as slow cooking in a fraction of the time. It’s pretty miraculous, honestly. How you cook the meat will depend on what animal it’s from and the specific cut. There are no one-size-fits-all rules here, which is great because that means the possibilities are endless. Here’s what I can tell you though:
A brisket, like the Maple Smoked Brisket from Bare Root Girl, will be falling apart tender in just 60 minutes. What about Pot Roast you ask? Amy + Jacky’s recipe for Instant Pot Post Roast is done in 45 minutes. You can even whip up mouthwatering drumsticks (which always seem to be on sale) in 15-20 minutes. I’m dying to try these Honey Teriyaki Drumsticks at SkinnyTaste (pictured). Whatever cut you want to try, you’ll find a recipe online, you can be sure of that.
Related: A quick guide to the buttons on your Instant Pot.
4. Reduce food waste.

How to pressure cook frozen meat | Hip Pressure Cooking
Why it’s worth it:
I realize that this is not as straight a line from the Instant Pot to your wallet as the other suggestions so far, but food waste is a huge waste of money. Not only are you throwing away food that you spend money on, but you’re also spending more to replace it. If you think about it, one piece of freezer burned fish that ends up in the garbage + a new piece of fresh fish to replace it down the line = a fish dinner that costs double per person.
In my house, I find that what adds up to the biggest waste of money is meat that has gone bad in the freezer (ie, is freezer burned or just gets buried for wayyyy too long). The Instant Pot has instantly changed that since it can cook meat from frozen. As soon as I find something that looks like it’s been in too long, I can turn it into dinner. I don’t have to return it to the freezer and remember it again down the line. Phew.
You can also save money by reducing produce waste: See vegetable broth above or find a killer veggie soup recipe. With it, you can turn that sad kale and nearly too-soft carrots into a veggie soup in minutes. Same with fruit: Apple sauce, compotes, and quick jams to the rescue.
How to do it:
Again, there’s no one size fits all recipe, rather it’s a matter of finding recipes that work for whatever it is you want to use up. To get you started, I can tell you that I regularly throw frozen chicken thighs or breasts into the IP with about three cups of broth to cook on high for 25-25 minutes (depending on whether they are frozen in one big block or smaller pieces). Allow the steam to release naturally and carefully shred the chicken. It should be moist and cooked through, but if not, re-seal and give it a few more minutes.
Another helpful guide to get you started: Instructions for how to pressure cook frozen meat at Hip Pressure Cooking (pictured). This is packed with super helpful tips.
Related: 10 of the best Instant Pot Recipes for beginners
5. Make your own yogurt.
Instant Pot yogurt experiments | Pressure Cook Recipes
Why it’s worth it:
Because yogurt is expensive! And, honestly, often packed with tons of sugar. When you make your own, you save big and can control what goes in it. Simple business.
How to do it:
I admit that this is one way that I haven’t tried using my Instant Pot yet. But it’s on my list (obviously, since this is my list). I plan on starting by using this recipe for Instant Pot Yogurt #12, which was the best result from these Instant Pot yogurt experiments at Amy + Jacky Pressure Cook Recipes (pictured). Both of these posts are hugely informative and really break down the process, which is surprisingly easy. Read these before you foray into yogurt making — then I have a feeling you won’t be able to stop.
If you prefer dairy-free yogurt, you can still save big using your Instant Pot. In fact, you can probably save more since non-dairy yogurt — even the ones that aren’t super high quality — can be pricey. I plan on trying this recipe for Instant Pot Coconut Yogurt at Wholefully for my dairy-free son. And because it looks delicious for me too.


