I can rattle off about ten recipes where the first step calls for browning ground beef, from chilis to casseroles, sauces, pasta dishes (taco spaghetti!) and more. But for years, I’ve always found this simple step really hard to execute – with the meat always turning a not-so-lovely shade of gray.
It wasn’t until cooking school, and a lesson on the Maillard reaction (fancy term for browning) that I finally understood the right steps for how to actually brown ground beef.
I’m going to save you hundreds in a culinary school course with these tips!
Related: The final say on the best cuts of beef for burgers: Tips from a professional butcher who knows.
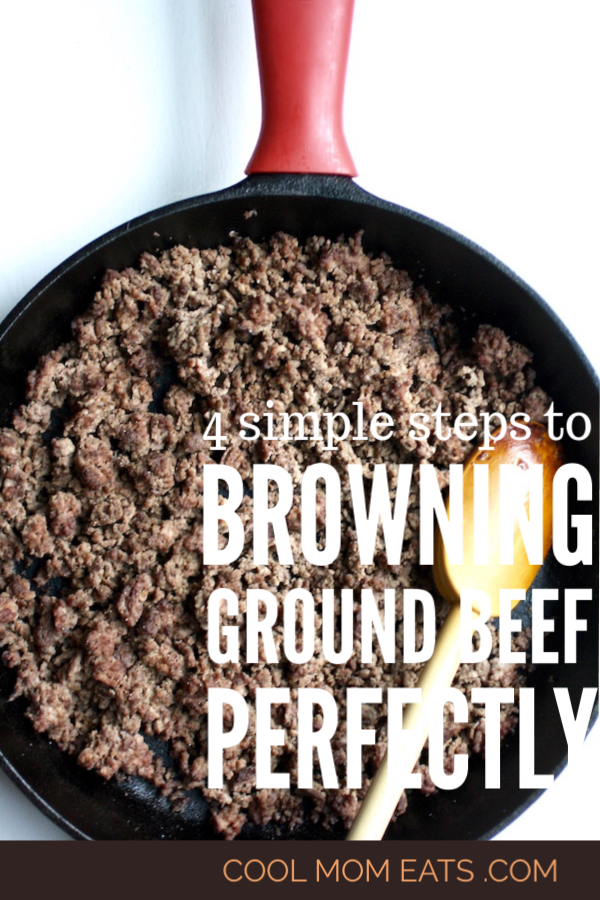
How to brown ground beef perfectly in 4 easy steps
When you brown meat, a reaction occurs that not only adds color but flavor, and a lot of it. It also produces those mmmm-inducing aromas. And adding browned meat to your dish – this technique works with ground pork and turkey too, by the way – will make the whole meal tastier, with a deeper, more complex flavor.
And it’s not hard to do!
So from one obsessive chili maker to you, here are the four simple steps for how to brown ground beef. And be sure to check out these tips from a pro butcher, for choosing the best cuts of meat to use for ground beef in the first place.
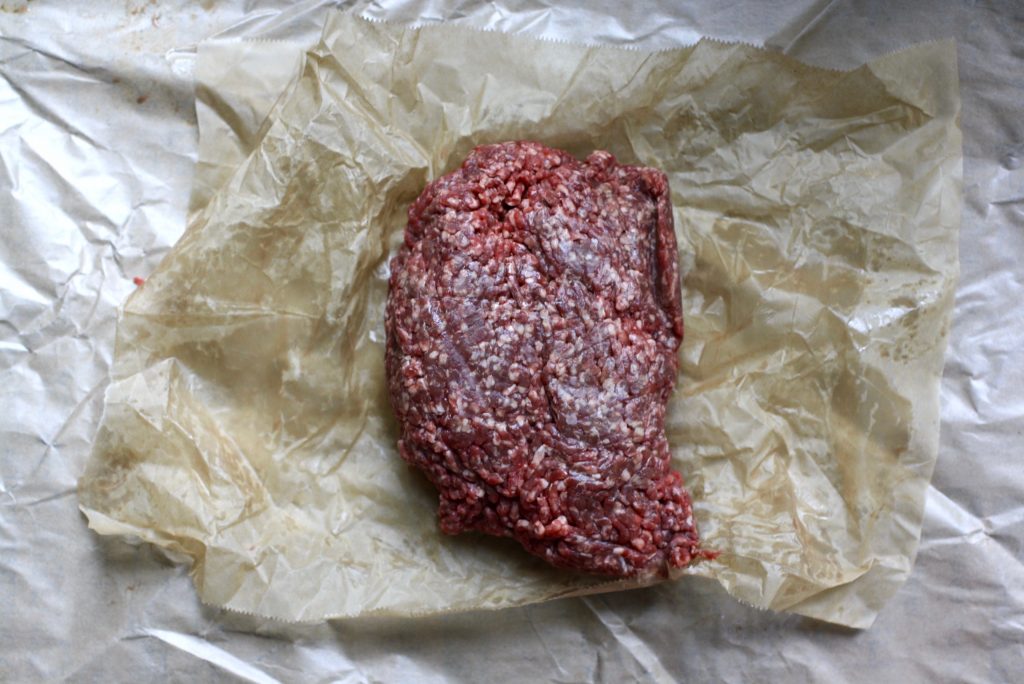
1. Take the meat out of the fridge early. Let it come to room temp, or close to it. If the meat seems wet, blot with a few paper towels to remove excess moisture, because moisture will steam the meat, rather than brown it.
And for those of us who have a hard time planning ahead, don’t worry. You can still get a decent amount of the meat nice and browned even if you don’t take it out of the fridge early.
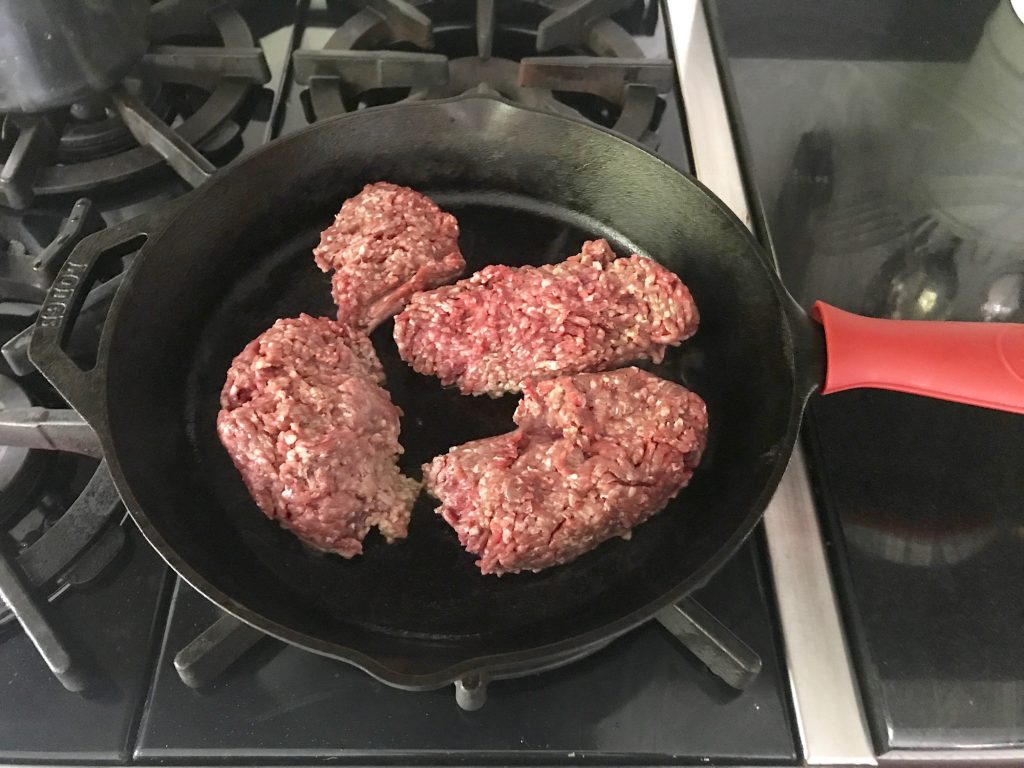
2. Add meat to a hot, lightly oiled pan and DON’T TOUCH IT. Hot is key here! Because you need sufficient enough heat for the browning reaction to occur, and allowing the meat to sit in one place helps the process along. Besides, overhandling ground beef toughens it up, so use a light touch.
Also you may notice that I haven’t broken it up too much at this point; plenty of time to get in there with your wooden spoon a little later.
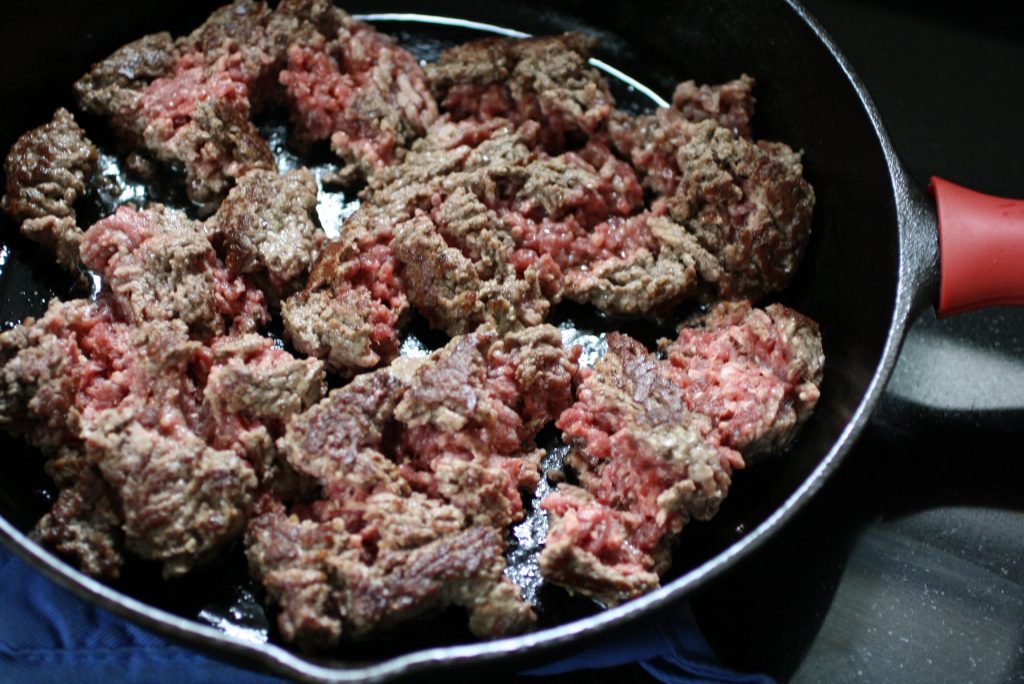
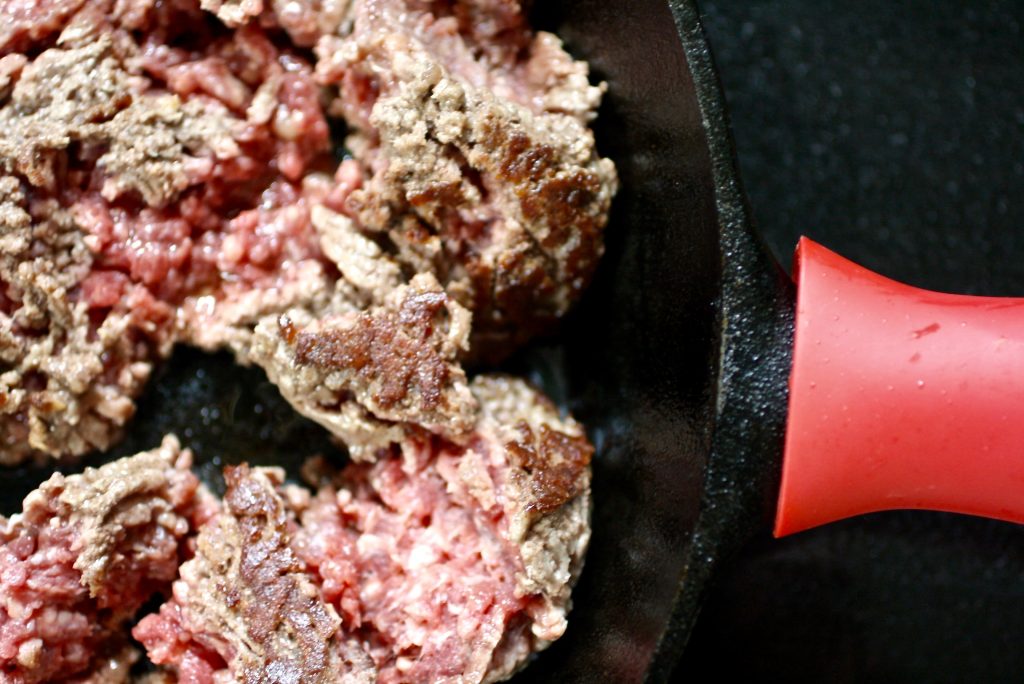
You want some of these chunks to have that deep, caramelized brown color on the outside
3. Using a spatula or wooden spoon, peek under a chunk or two to see if it’s deeply browned. If so, flip over meat in large pieces and let it cook another minute or two.
Note: I find that this first sear is when I achieve the most browning, so resist the urge to mix up your ground beef too early. Even if the other side doesn’t get as brown, you’ll still have plenty of rich flavor from the initial sear/browning.
Related: Warming up fall and winter with 6 chili recipes that cook in 30 minutes or less.
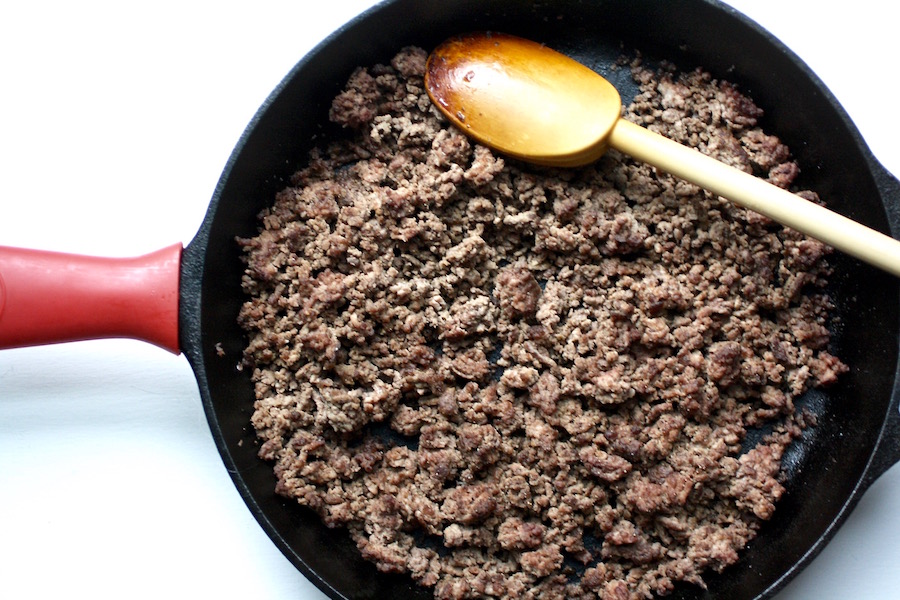
4. Now go ahead and break it up so the meat is just cooked through, with no visible pink. Drain any excess fat, if needed. And…you’re done!

